| . |
 |
. |
|
|
|
|
. |
|
| . |
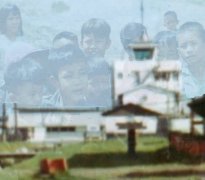
 This
page is populated with photographs of aircraft utilized in the Mekong Delta
and Can Tho Army Airfield RVN. (Page 2)
This
page is populated with photographs of aircraft utilized in the Mekong Delta
and Can Tho Army Airfield RVN. (Page 2) |
. |
| . |
.Click on the
thumbnails below to see a larger picture. |
. |
|
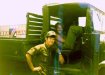
 61. Another H-21 transport in Soc Trang. 1963-64
Photo by: Reuben Ritter |
|
|
. |
|
|
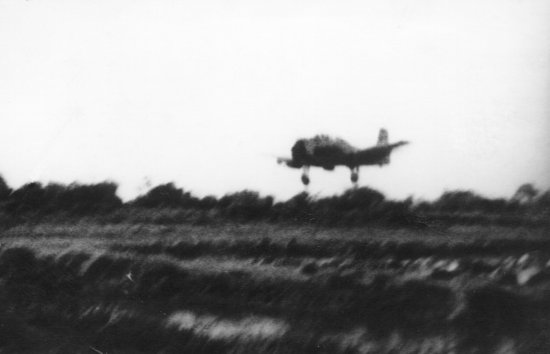
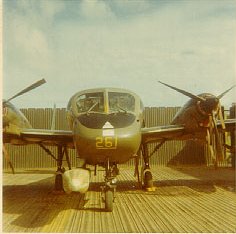
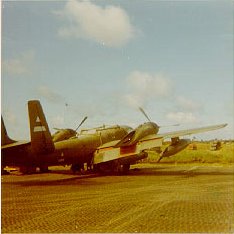
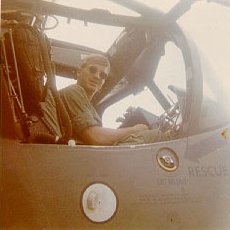
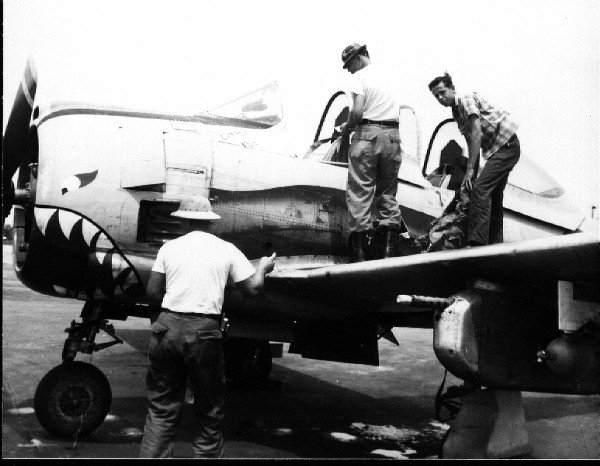
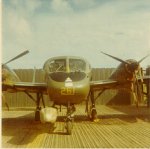
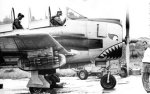
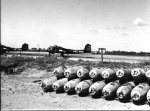
 62. This is the type fighter and bomber we had at Soc Trang in 63-64.
Photo by: Reuben Ritter |
|
|
. |
|
|
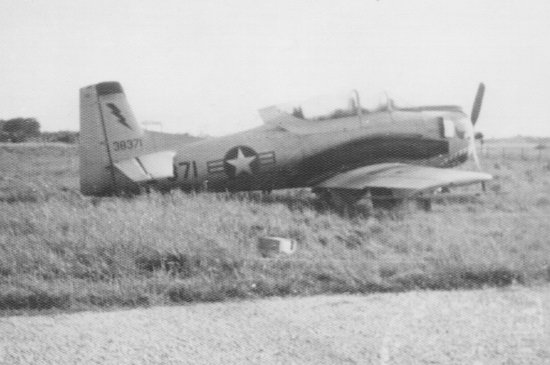
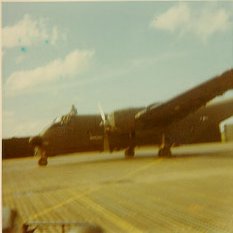
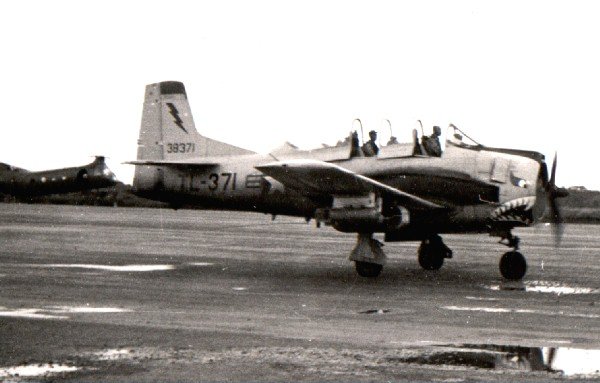
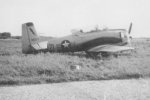
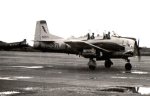
 63. A T-28 Fighter (I think) returning to Soc Trang. 1963-64
Photo by: Reuben Ritter |
|
|
. |
|
|
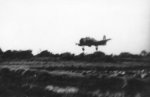
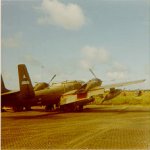
 64. RVN Skyraiders over Can Tho, 1965
Photo by: Robert Payette |
|
|
. |
|
|
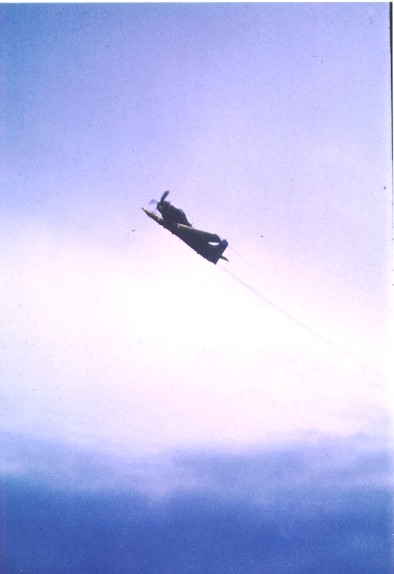
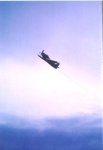 65. A single RVN Skyraider over Can Tho, 1965
Photo by: Robert Payette |
|
|
. |
|
|
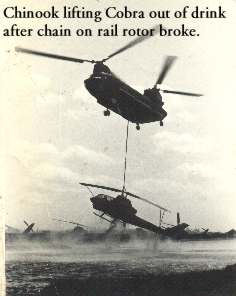
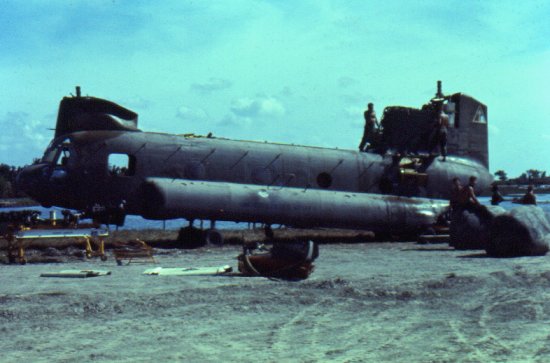
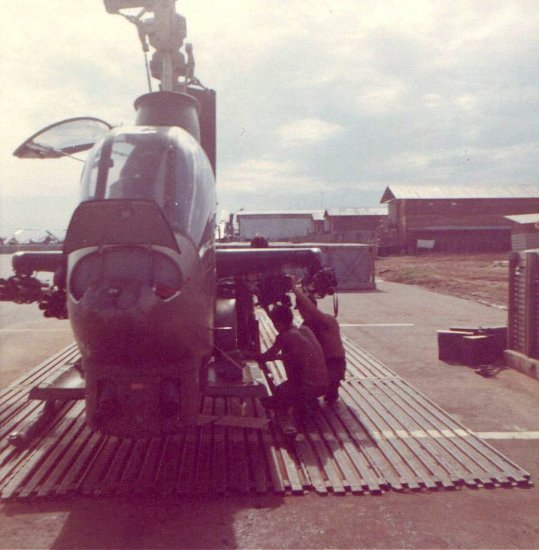
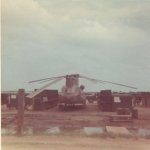
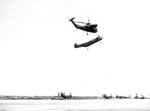
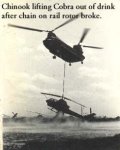 66. Chinook lifting Cobra out of the drink after its chain on
the tail rotor broke, 1969
66. Chinook lifting Cobra out of the drink after its chain on
the tail rotor broke, 1969
Photo by: John Stapleton |
|
|
. |
|
|
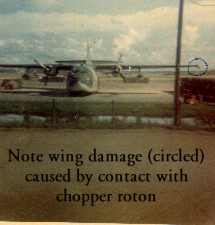
 67. Wing damage after contact with chopper rotor, 1969
Photo by: John Stapleton |
|
|
. |
|
|
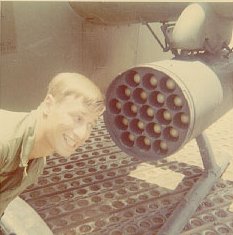
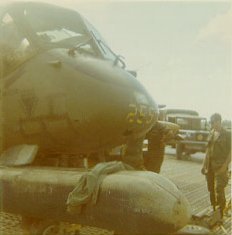
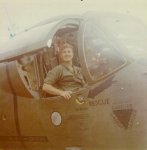
 68. The gunship that blew-up the Can Tho Airfield Ammo Dump.
I don't have any info on the ship except that I remember hearing that the ship was just back from major overhauls
done in Saigon. We were told that the wires were crossed there where they had Viets working on
them. I wonder what they really found out eventually?
A right front quarter view of the ship. Are those infrared cameras on the
front? The number on the nose looks like 112, if you don't magnify it too much.
Photo by: Gary Waddell |
|
|
. |
|
|
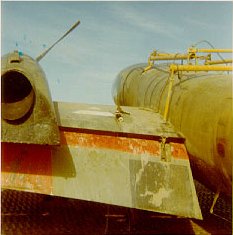
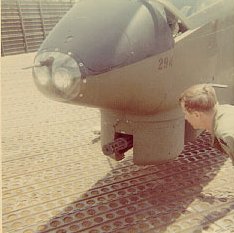
 69. A view of where the rocket came out of the revetment.
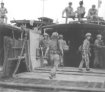
Photo by: Gary Waddell |
|
|
. |
|
|
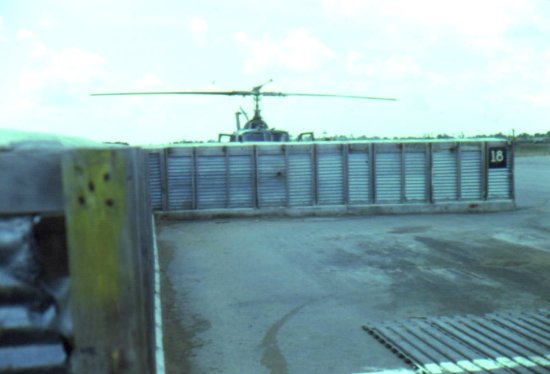
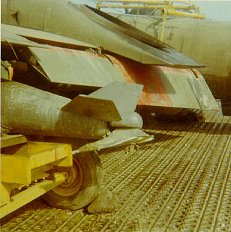
 70. Picture of the Cobra blade that the rocket passed through on its way to the ammo dump.
The Cobra was parked in the next revetment in line.
70. Picture of the Cobra blade that the rocket passed through on its way to the ammo dump.
The Cobra was parked in the next revetment in line.
Photo by: Gary Waddell |
|
|
. |
|
|
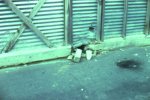 71. Picture of the revetment wall that was facing the gunship.
You can see where the other rocket hit the concrete and was stopped, the burn mark shows how it was laying.
71. Picture of the revetment wall that was facing the gunship.
You can see where the other rocket hit the concrete and was stopped, the burn mark shows how it was laying.
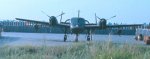
Photo by: Gary Waddell |
|
|
. |
|
|
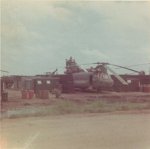
 72. Shows a Screaming Eagle hook being moved from the ammo dump
area. I don't believe this ship was parked there during that night, although I
thought I had a picture of the hook. It had all of its windows blown
out from the concussion of the blast. Can you imagine being in that guard tower when the dump blew?
Photo by: Gary Waddell
72. Shows a Screaming Eagle hook being moved from the ammo dump
area. I don't believe this ship was parked there during that night, although I
thought I had a picture of the hook. It had all of its windows blown
out from the concussion of the blast. Can you imagine being in that guard tower when the dump blew?
Photo by: Gary Waddell |
|
|
. |
|
|
 73. A view out the left door gunner's window at a hover near the end of the 271st ramp and should be near the ammo
dump. This gives you some idea how far the rocket had to go since it passed our
hanger. It was a long way to the ammo dump from the gunships revetment.
Its revetment is in the top center of the picture in that small line of cobras and slicks.
I swear I heard it go by, while I was working in the hanger that night.
Photo by: Gary Waddell
73. A view out the left door gunner's window at a hover near the end of the 271st ramp and should be near the ammo
dump. This gives you some idea how far the rocket had to go since it passed our
hanger. It was a long way to the ammo dump from the gunships revetment.
Its revetment is in the top center of the picture in that small line of cobras and slicks.
I swear I heard it go by, while I was working in the hanger that night.
Photo by: Gary Waddell |
|
|
. |
|
|
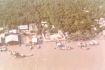
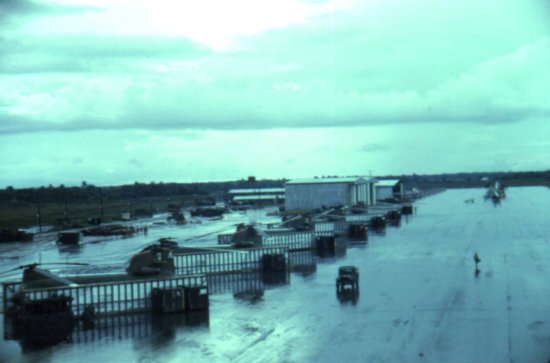
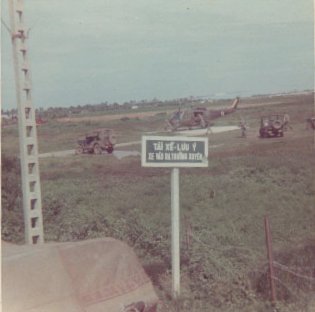
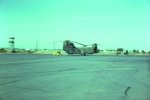
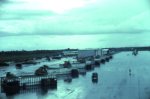
 74. Can Tho Airfield 1969-70.
Photo by: Thomas
Ostrognai |
|
|
. |
|
|
 75. Can Tho Airfield 1969-70.
Photo by: Thomas
Ostrognai |
|
|
. |
|
|
 76. Can Tho Airfield 1969-70.
Photo by: Thomas
Ostrognai |
|
|
. |
|
|
 77. Can Tho Airfield 1969-70.
Photo by: Thomas
Ostrognai |
|
|
. |
|
|
 78. Can Tho Airfield 1969-70.
Photo by: Thomas
Ostrognai |
|
|
. |
|
|
 79. Can Tho Airfield 1969-70.
Photo by: Thomas
Ostrognai |
|
|
. |
|
|
 80. Can Tho Airfield 1969-70.
Photo by: Thomas
Ostrognai |
|
|
. |
|
|
 81. Can Tho Airfield 1969-70.
Photo by: Thomas
Ostrognai |
|
|
. |
|
|
 82. Can Tho Airfield 1969-70.
Photo by: Thomas
Ostrognai |
|
|
. |
|
|
 83. Can Tho Airfield 1969-70.
Photo by: Thomas
Ostrognai |
|
|
. |
|
|
 84. Can Tho Airfield 1969-70.
Photo by: Thomas
Ostrognai |
|
|
. |
|
|
 85. Can Tho Airfield 1969-70.
Photo by: Thomas
Ostrognai |
|
|
. |
|
|
 86. Can Tho Airfield 1969-70.
Photo by: Thomas
Ostrognai |
|
|
. |
|
|
 87. Can Tho Airfield 1969-70.
Photo by: Thomas
Ostrognai |
|
|
. |
|
|
 88. Can Tho Airfield 1969-70.
Photo by: Thomas
Ostrognai |
|
|
. |
|
|
 89. Can Tho Airfield 1969-70.
Photo by: Thomas
Ostrognai |
|
|
. |
|
|
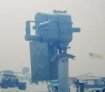
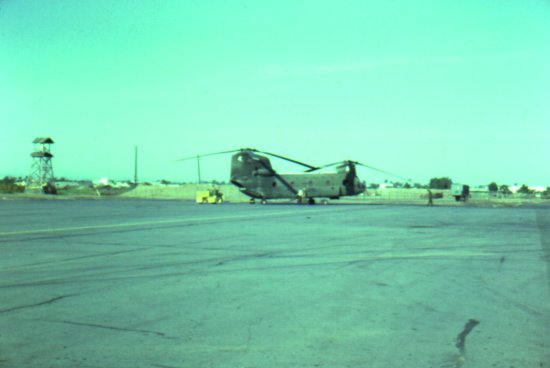
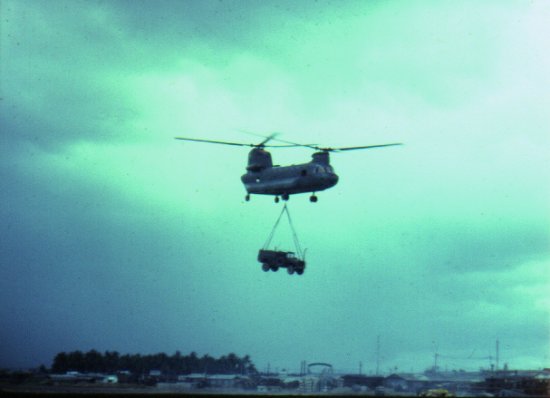
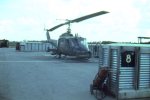
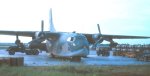
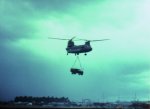 90. Picture of a hook (H-47) slinging a truck out of Can Tho circa 1969.
Photo by: Gary Waddell |
|
|
. |
|
|
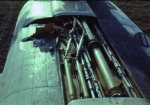
 91. 1969 INNKEEPER 66-19117 broke a pitch link on start
up. The aft blade hit the tunnel on the top of the
91. 1969 INNKEEPER 66-19117 broke a pitch link on start
up. The aft blade hit the tunnel on the top of the
ship that carries the drive shaft and
flight control rods. It also tore a hole in the fuselage near the left
door gunner's station. I was told that the gunner said there was some loud bangs and then he was sitting in
sunlight. Lucky for the crew that it broke on the ground and not at 5000 ft.
I was on the recovery crew that was sent out to dismantle her, so that
she could be sling loaded out. We removed the blades and rotor
hubs, engines and pumped out the fuel into fuel bladders.
Photo by: Gary Waddell |
|
|
. |
|
|
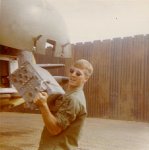
 92. 1969 INNKEEPER 66-19117
This shows how we stripped it down for recovery. She sure sit high
without the fuel, blades, hubs, and engines. Some of my buddies are sitting on
the fuel bladders. Photo by: Gary Waddell |
|
|
. |
|
|
 93. 1969 INNKEEPER 66-19117
This picture shows the damage to the drive shaft tunnel and the bent control
rods.
Photo by: Gary Waddell |
|
|
. |
|
|
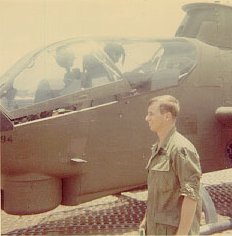
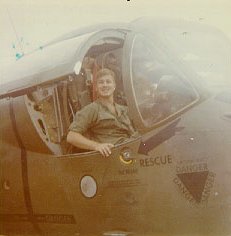
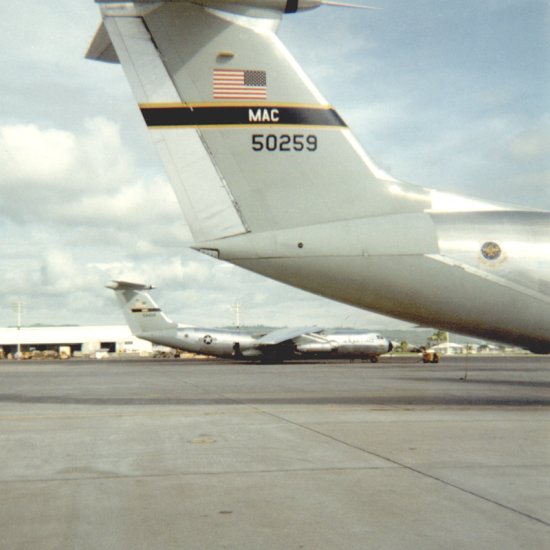
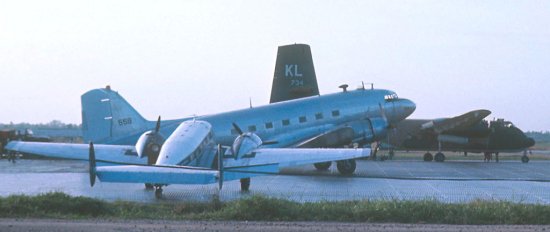
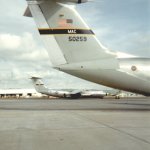 94. Troop transports used to fly replacements into Vietnam and veterans home to the States (1968).
Photo by: Dave Callahanl |
|
|
. |
|
|
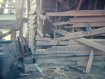
 95. Helicopter repair after Tet 1968
at Can Tho airfield.
Photo by: Dave Callahanl |
|
|
. |
|
|
 96. Can Tho airfield 1967.
Photo by: Dave Callahanl |
|
|
. |
|
|
 97. Can Tho airfield 1967.
Photo by: Dave Callahanl |
|
|
. |
|
|
 98. Can Tho airfield 1967.
Photo by: Dave Callahanl |
|
|
. |
|
|
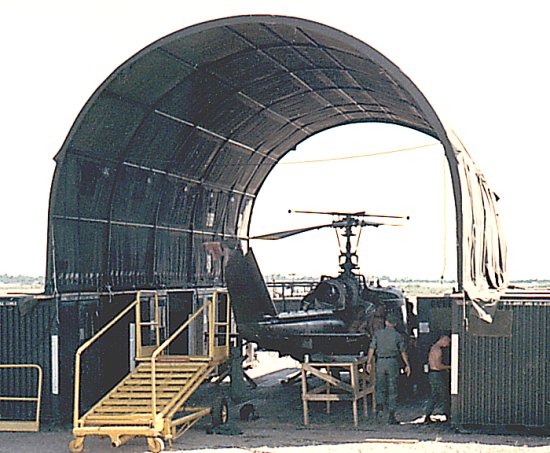
 99. An H-1 Cobra. I think the had some extra parts and were trying to figure out where to put them.
Photo by: Chuck Kosack |
|
|
. |
|
|
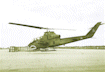
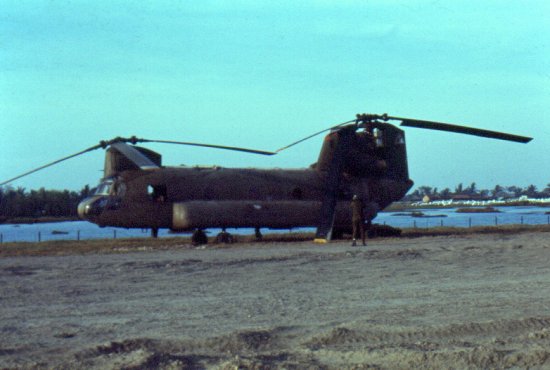
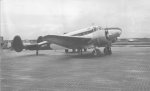
 100. Chinook at Can Tho Airfield in December, 1968.
Photo by: Mark
Johnson |
|
|
. |
|
|
 101. Chinook at Can Tho Airfield in December, 1968.
Photo by: Mark
Johnson |
|
|
. |
|
|
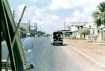
 102. Convoy picture between Dong Tam and Vihn Long in December, 1968.
Photo by: Mark
Johnson |
|
|
. |
|
|
 103. Convoy picture between Dong Tam and Vihn Long in December, 1968.
Photo by: Mark
Johnson |
|
|
. |
|
|
 104. T-28 getting ready for mission in Soc Trang.
1963-64
104. T-28 getting ready for mission in Soc Trang.
1963-64
Photo by: Bill Verebely |
|
|
. |
|
|
 105. H-21 being brought home to Soc Trang.
1963-64
105. H-21 being brought home to Soc Trang.
1963-64
Photo by: Bill Verebely |
|
|
. |
|
|
 106. T-28 with VNAF, in and back out for a mission, Soc Trang.
1963-64
106. T-28 with VNAF, in and back out for a mission, Soc Trang.
1963-64
Photo by: Bill Verebely |
|
|
. |
|
|
 107. T-28 going out loaded, Soc Trang.
1963-64
107. T-28 going out loaded, Soc Trang.
1963-64
Photo by: Bill Verebely |
|
|
. |
|
|
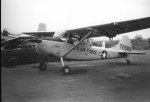 108. USAF O-1 FAC plane at Soc Trang.
1963-64
108. USAF O-1 FAC plane at Soc Trang.
1963-64
Photo by: Bill Verebely |
|
|
. |
|
|
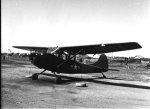 109. Army L-19 FAC plane at Soc Trang.
1963-64
109. Army L-19 FAC plane at Soc Trang.
1963-64
Photo by: Bill Verebely |
|
|
. |
|
|
 110. Mowhawk at Soc Trang.
1963-64
110. Mowhawk at Soc Trang.
1963-64
Photo by: Bill Verebely |
|
|
. |
|
|
 111. H-21 Copter, Soc Trang Tiger.
1963-64
111. H-21 Copter, Soc Trang Tiger.
1963-64
Photo by: Bill Verebely |
|
|
. |
|
|
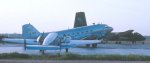
 112. Air America Can Tho Airfield, 1965.
Photo by: Roy Cole |
|
|
. |
|
|
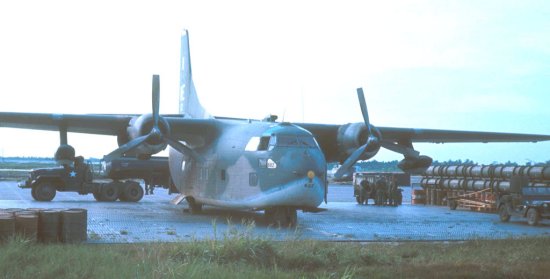
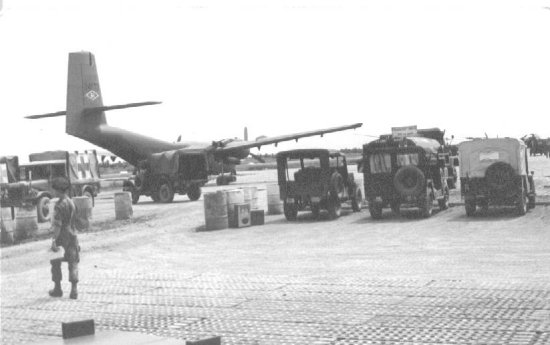
 113. C-123 Can Tho Airfield, 1965.
Photo by: Roy Cole |
|
|
. |
|
|
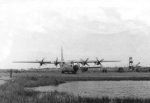 114. C-130 Can Tho Airfield, 1965.
Photo by: Roy Cole |
|
|
. |
|
|
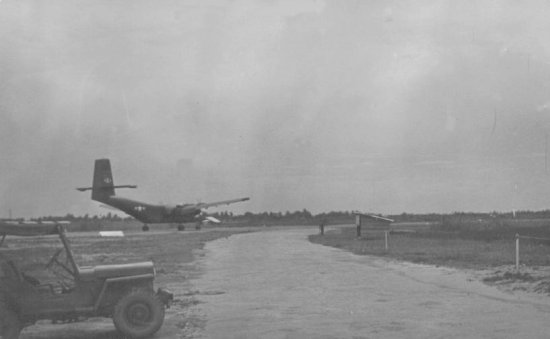
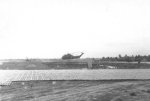
 115. CV-2 landing Can Tho Airfield, 1965.
Photo by: Roy Cole |
|
|
. |
|
|
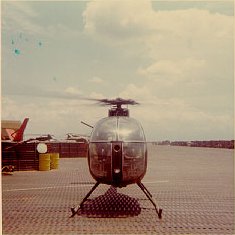
 116. Helo Can Tho Airfield, 1965.
Photo by: Roy Cole |
|
|
. |
|
|
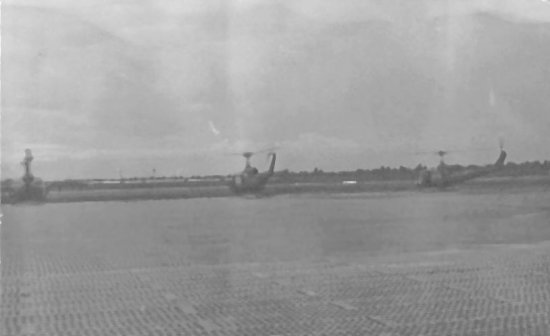
 117. Hueys Can Tho Airfield, 1965.
Photo by: Roy Cole |
|
|
. |
|
|
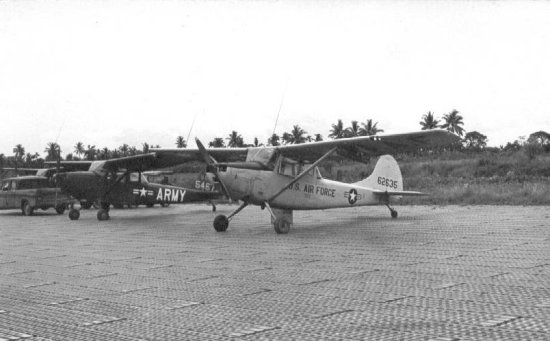
 118. L19s at Can Tho Airfield, 1965.
Photo by: Roy Cole |
|
|
. |
|
|
 119. Parked CV-2 at Can Tho Airfield, 1965.
Photo by: Roy Cole |
|
|
. |
|